**This post contains affiliate links and I will be compensated if you make a purchase after clicking on my links.
Growing up my grandma was always turning scraps of wood into the most incredible pieces of home decor. Her snowmen and pumpkins in particular are iconic and neighbors and friends we’re always asking for them. While I don’t profess to have the same incredible artistic skill she had, I did take inspiration from all here work in making these.
After building some shelves in our garage I had some pieces of 2×4 left over that are too small to really be useful in any future building project. So with Halloween just around the corner I turned to Pinterest to see if inspiration would strike.
That’s where I saw these cute characters being sold on Etsy and I figured I could make my own. Plus we needed some fun Halloween decor that wouldn’t freak out my two year old (who is absolutely terrified of all the Halloween products stores have been putting up).
Making these is really quite simple and if you don’t have extra pieces of 2×4 lying around just swing by Home Depot or Lowe’s and check out the scrap wood bucket. There’s usually a few pieces in there you can buy for cheap.
What You’ll Need to Make this 2×4 Halloween Decor
- 2×4 scraps between 6″ and 18″ (I like the look of different heights but they could all be the same)
- 150 grit Sand Paper
- White, Green, and Orange spray paint
- Black paint (I just used some acrylic craft paint)
- Foam paint brush
How to Make 2×4 Halloween Characters
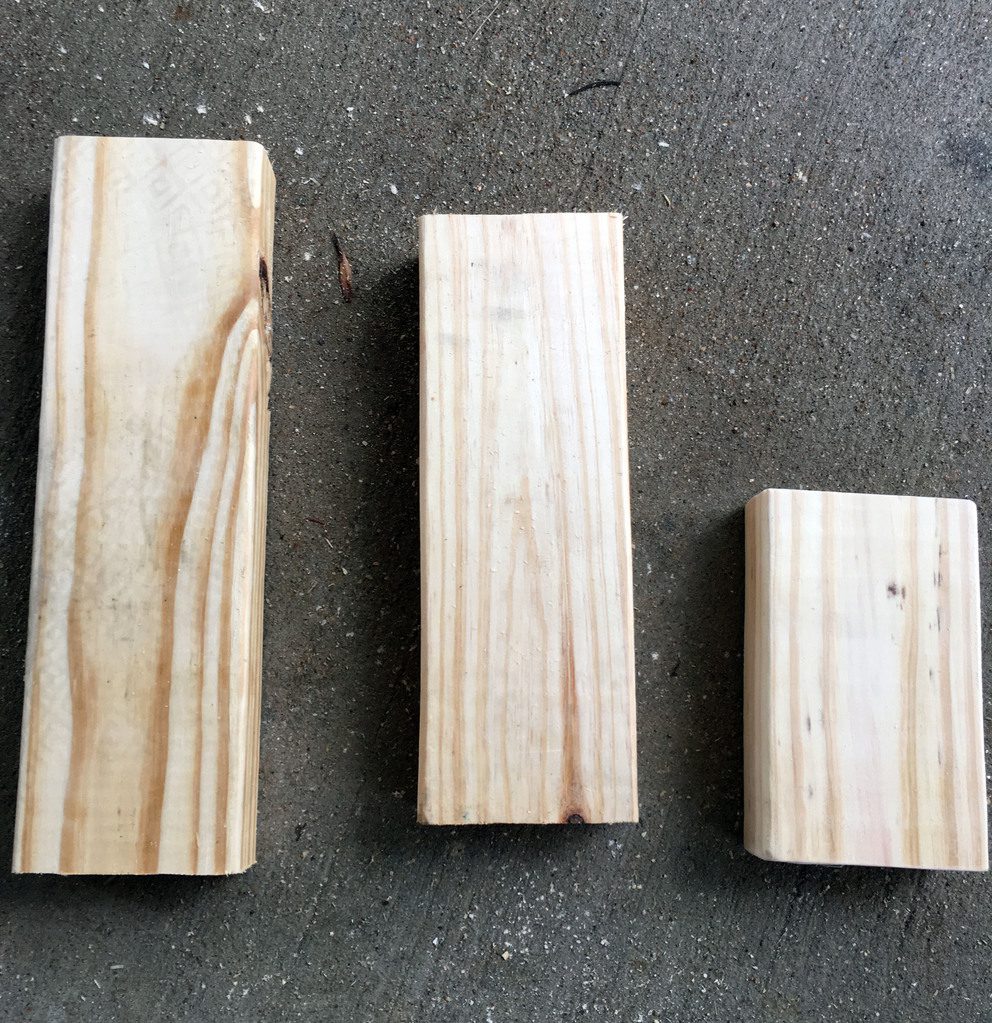
Step 1: Cut the Boards
I went with tiered characters at heights of 12″, 10″, and 6″. There’s really no right or wrong height here, just cut them down if necessary to your desired height.
Step 2: Sand the boards
This particular Halloween decor is not meant to look like an incredibly polished piece. I just went over the boards with my electric sander using some 120 or 150 grit sand paper to smooth them out and soften the edges. If you really wanted to polish their look you could move up to finer sandpaper and sand in between coats of paint (I didn’t).

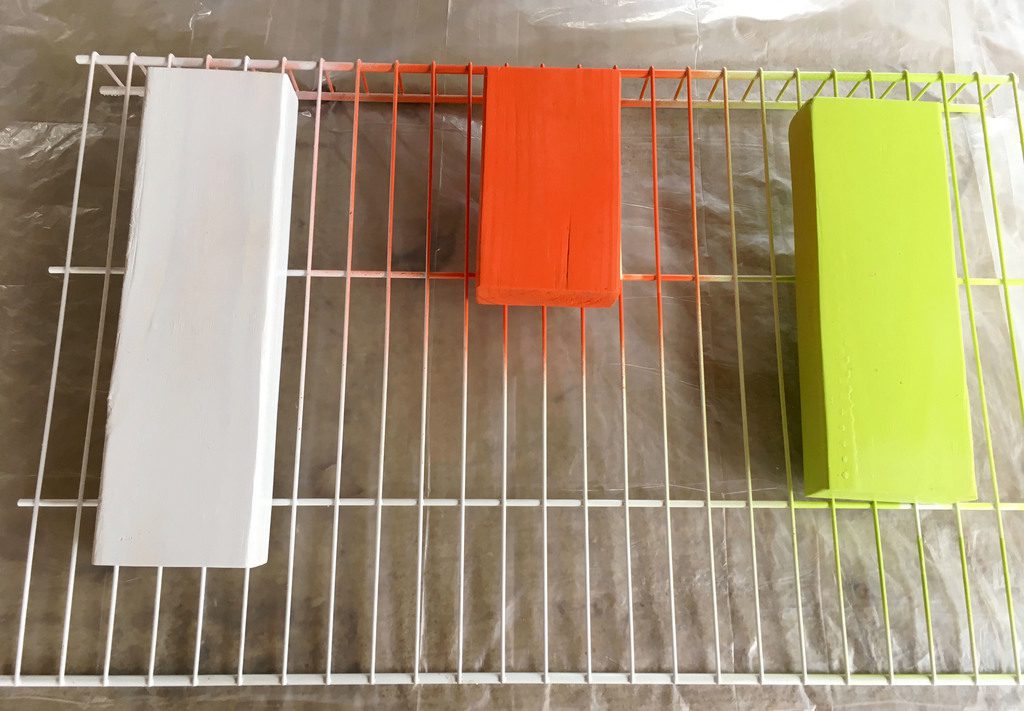
Step 3: Spray Paint
Paint each character with their appropriate color. You’ll want to make sure you separate the characters when painting each one. After the first coat my zombie was covered in small orange flakes from painting the pumpkin, so be careful. After waiting a few hours I painted a second coat and called it good.
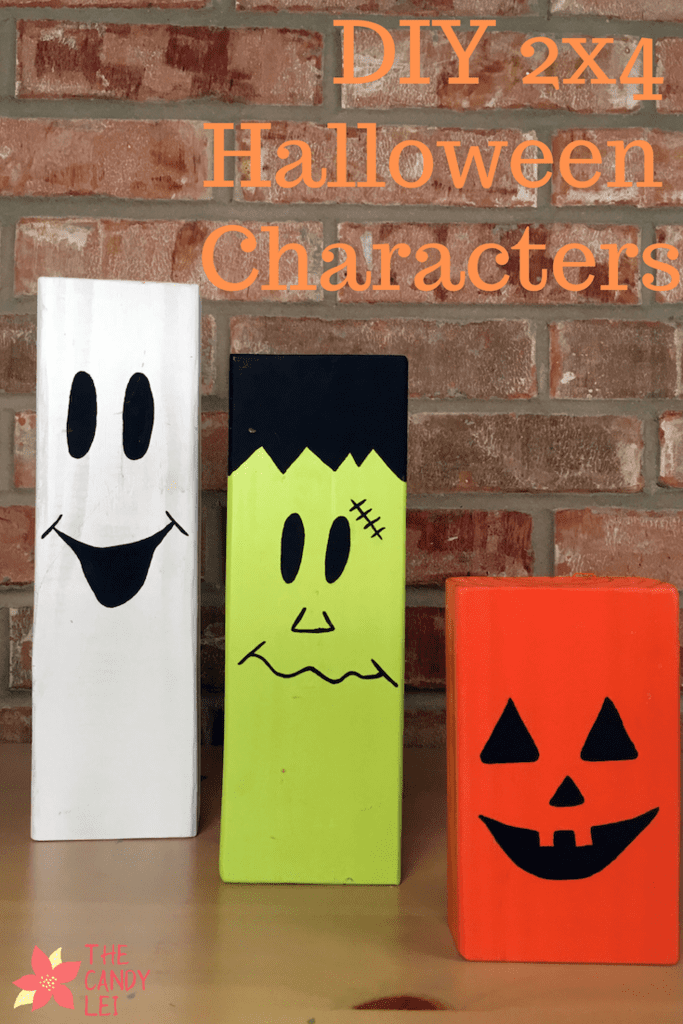
Step 4: Paint on their faces
Given my lack of artistic skill I was apprehensive about this step. Fortunately my kind wife stepped in and painted them for me which was wonderful. We let them dry overnight and then put them up on display.

This really is an incredibly easy craft and something just about anyone could knock out over a weekend. What do you think, is this a craft you’ll be doing this fall?
Leave a Reply