**This post contains affiliate links and I will be compensated if you make a purchase after clicking on my links.
Every year at Halloween my wife gives me a hard time because, despite the fact that I’m not a huge Halloween fan, it’s consistently the only holiday that I do any decorating without her. It started the first year of our marriage when I hung paper bats all over our walls and its grown every year since then.
While I’m not a huge fan of spooky/freightening Halloween decor I do like the more fun/cheerful decor like this Boo sign door hanger or these Halloween characters. So that’s what I usually set up around the house come October.
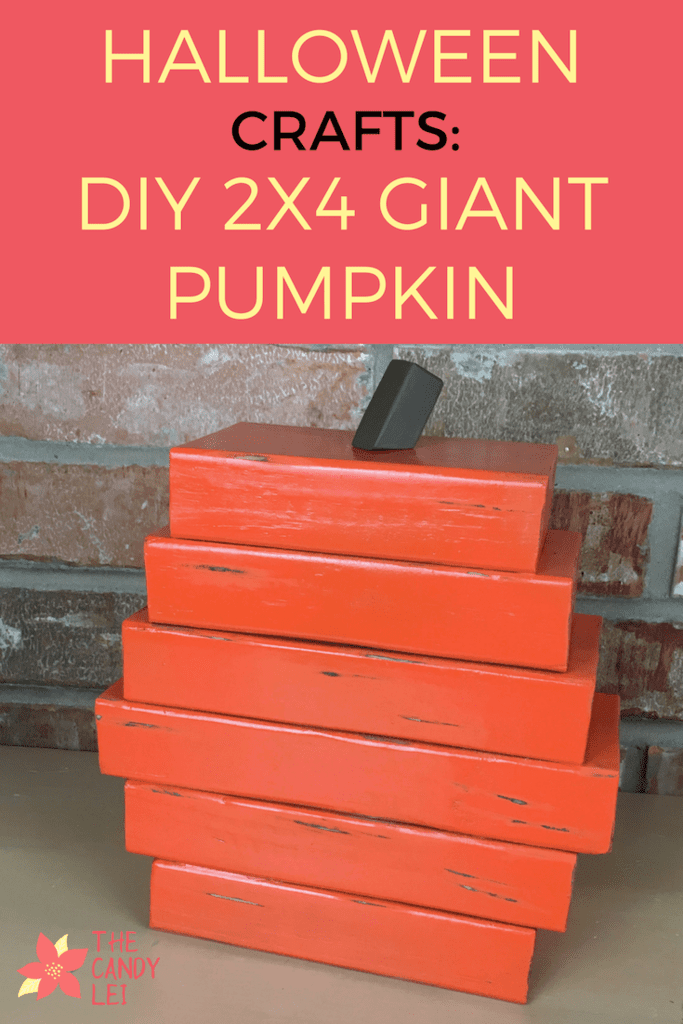
This year I added this lovely pumpkin made from stacked 2x4s. The project is actually quite easy to complete and just requires a few tools.
Supplies for 2×4 Pumpkin
- Approximately 3-4 feet of 2×4
- 3-4″ of 1×1″ board
- Brown Spray Paint
- Orange Spray Paint
- Wood Glue
- Clamps
How to Make a 2×4 Pumpkin
Step 1: Cut your 2×4’s
I used scrap 2x4s I had laying around the garage to put together this pumpkin but if you have none you can always check the scrap bin at your local home improvement center or lumber yard. Or you can just purchase a new 2×4 which typically come in 8 foot lengths.
I didn’t want a perfectly symmetrical pumpkin so I made the top half taller than the bottom half. The longest piece is 9″ for the middle. Here’s all of the lengths I cut:
- 1 – 9″ piece
- 2 – 8″ pieces
- 2 – 7″ pieces
- 1 – 6″ piece

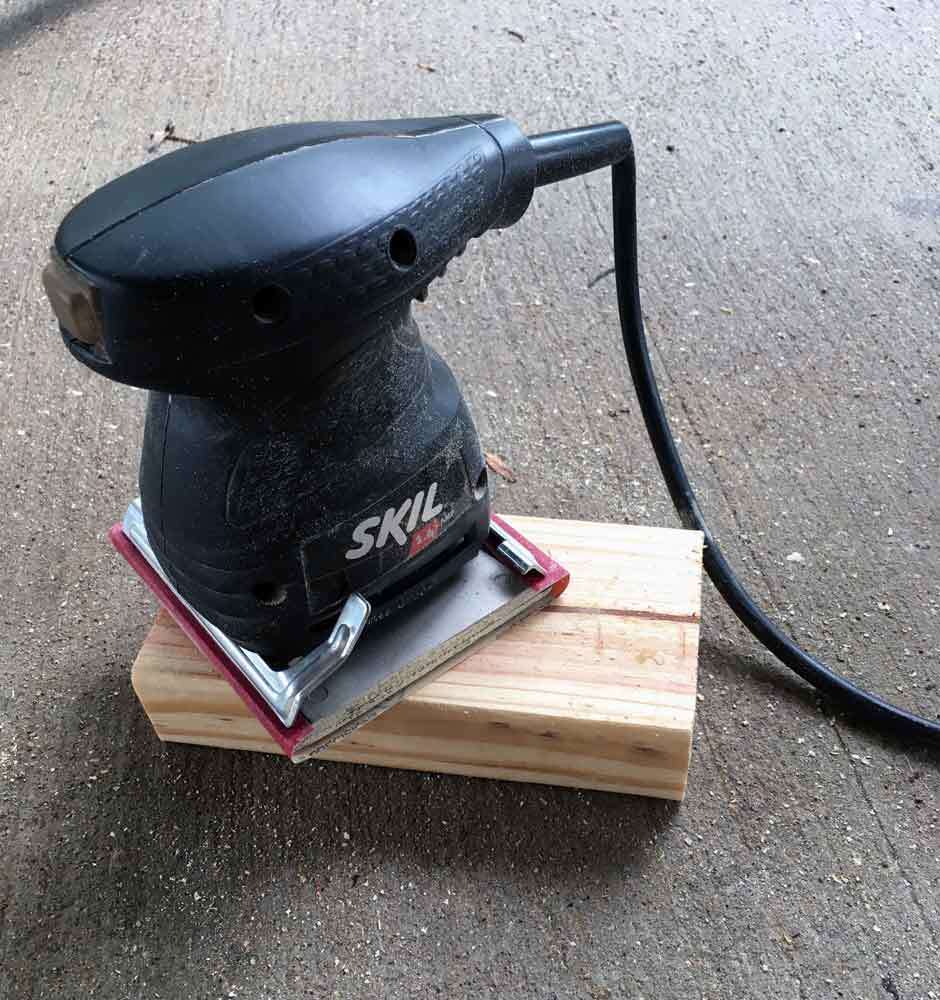
Step 2: Sand the 2×4’s
Once your boards are cut you’ll want to sand them down. Using my electric sander I started with 80 grit paper and then moved to 150 and lastly 200. I wan’t concerned with a really fine finish but I did want them the edges softened and the boards smoothed out.
After sanding I also used a rag and mineral spirits to wipe down the boards and remove any dust that was remaining. You’ll want the boards to be completely cleaned before gluing and painting.
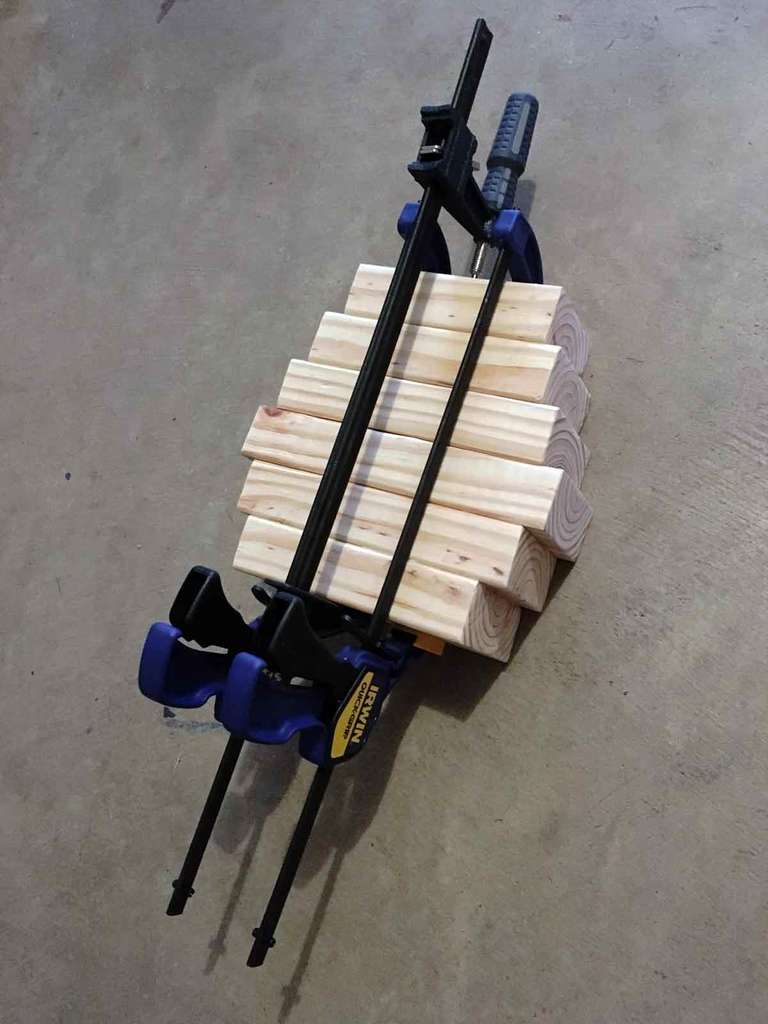
Step 3: Glue the 2×4’s Together
Once the boards were sanded and cleaned I glued them together. I started with the bottom piece and worked my way up the pumpkin. As I went I made sure to wipe of any glue that spilled out of the edges when I pressed the boards together.

Once all of the boards were glued I clamped them together (If you need simple clamps for projects like this, these Irwin ones are perfect, I’ve used them for years and cannot recommend them enough). You really only need two clamps to hold them together while the glue dries.
As you tighten the clamps all the way down you’ll want to make sure your boards stay lined up on the face of the pumpkin. Sometimes while tightening, a board can slide out a bit, making the pumpkin look uneven. I recommend letting the glue dry overnight but be sure to follow the exact direction on the bottle.
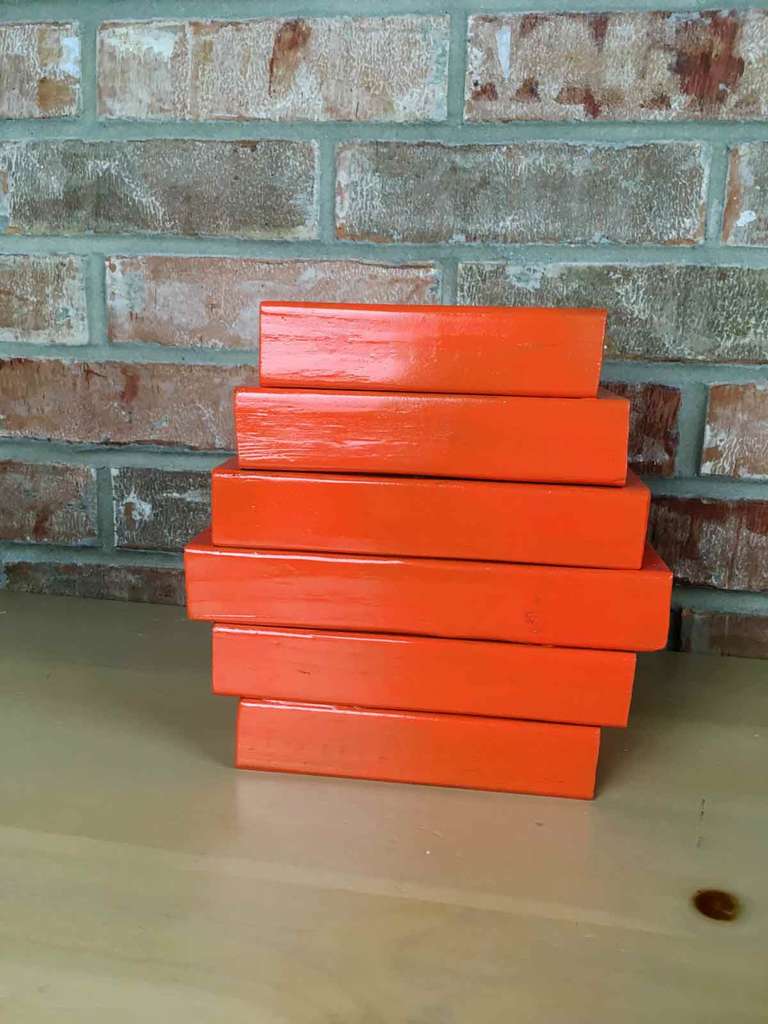
Step 4: Paint 2×4’s
Once your glue is dry remove the clamps and get ready to paint. First you’ll want to paint a coat of brown paint. If I did this again I wouldn’t use such a dark brown on my pumpkin, I would go with something a bit lighter.
After you’ve given it an appropriate amount of time to dry you’re ready to paint your orange on. The goal here is to get the majority of the pumpkin orange but let a little brown show through here or there. You may need to paint two coats or orange to really cover up the brown if you use a really dark one like I did.

Once the orange paint has dried you can leave your pumpkin as is or you can take a little sand paper and expose more of the brown that’s under the orange. Looking at my pumpkin you can see some of the streaks I’ve put into my pumpkin to expose the underlying brown. If you don’t care for that look of course you could skip the brown altogether and just paint it orange.
Step 5: Glue on the Stem
Once your paint has dried and your done sanding the last thing to do is paint your stem and glue it on. I just sprayed the stem with the same brown spray paint but you could always go with a different color. Once the stem paint was dry I just applied a drop of wood glue and pressed it on, holding it in place for a minute for the glue to start to set. Again, you’ll want to give the glue time to dry before handling the pumpkin.
Once your stem is dried your done! Now you just need to figure out where to put your pumpkin to show off your handiwork and celebrate the season.

Leave a Reply