**This post contains affiliate links and I will be compensated if you make a purchase after clicking on my links.
If you’re looking to create a truly unique graduation lei you should give this gummy worm lei a try. While I’m admittedly not the biggest fan of eating gummy worms, I do think they make for an awesome candy lei. If you do know a gummy candy lover out there this lei is perfect for them.
But before you dive into this “How-To,” have you ever wondered what gummy worms are made out of, or how they are made?

The concept of gummy candy was invented by Hans Reigel in 1922. At that time it was in the form of a bear.
In 1981 gummy bears were shipped to America. The American manufacturer Trolli then created the gummy worm. Since then gummy worms have become one of the most popular gummy candy forms.
This explanation on eHow about the actual manufacturing process is perfect.
Gummy worm making then was similar to today’s process. An artist first sketches the character before carving the sketch into a small plaster mold. Once in the factory, candy makers pour ingredients such as gelatin, sugar and glucose syrup into large boilers. The ingredients are then heated before colors and flavorings are added. The process then moves into the production area, where the mix is poured into the molds and left for up to 5 days. Beeswax is added to make the worms less sticky.
The process is definitely interesting. I had no idea beeswax was used. On an unrelated note, did you know there’s a national gummy worms day? I had no idea. Also, check out this video of a 4,000 calorie gummy worm. I could not eat that. Way to much gummy worm for me.
Well now that you know a bit about gummy worms lets dive into this and learn how to make a gummy worm candy lei.

Step 1: Materials
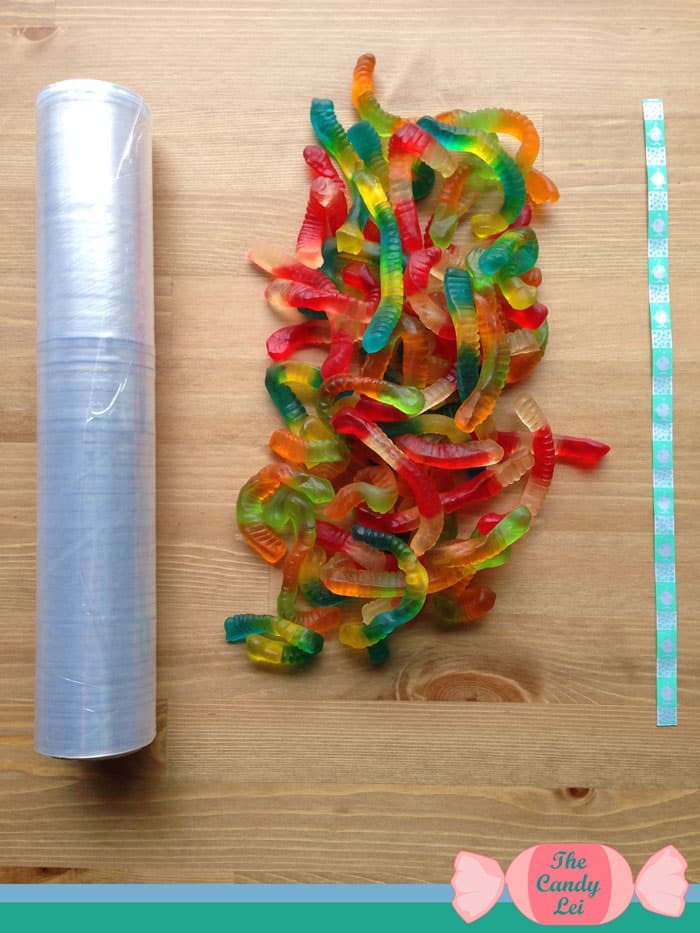
For this candy lei here’s what you need.
- Saran Wrap
- Gummy Worms – enough to lay out three rows of worms at approximately 38 inches each.
- 7-9 inch fabric ribbon

Step 2: Roll Out Saran Wrap
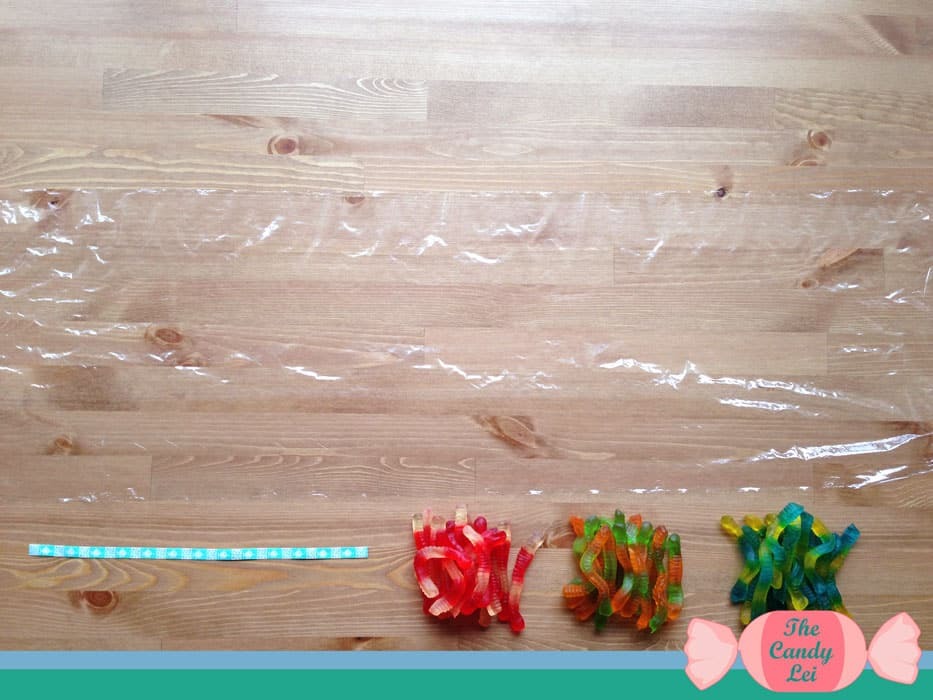
Roll out two rows of saran wrap. Measure them out to be 40 inches. Then cut them both in half length wise. You’ll be left with four strips of saran wrap, each 40 inches long. You’ll only use three of these, so use the third to wrap up leftovers. If you don’t use it, please recycle it.
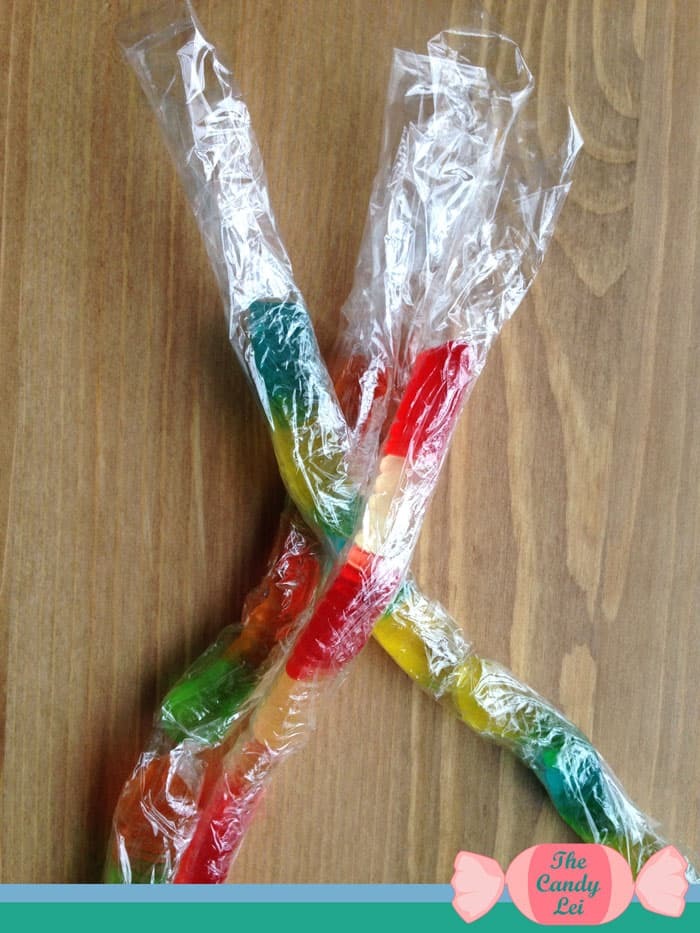
Step 3: Layout Gummy Worms
Given their springy nature, this part is a bit of a pain. Lay out your gummy worms about an inch from one side of the saran wrap. Also, leave about an inch on each end so the plastic is longer than the row of gummy worms. Lay them out in any pattern you choose. I like making each row the same color.
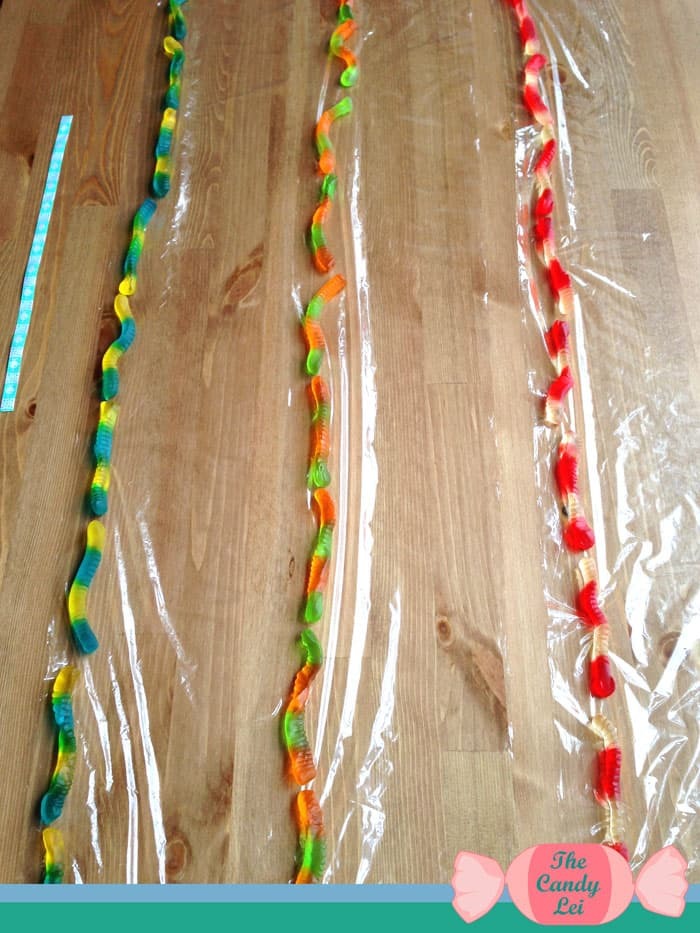
Step 4: Roll up the Gummy Worms in the Saran Wrap
This part is quite easy. Simply fold the small side of the saran wrap up over the gummy worms. Then roll the gummy worms up in the saran wrap.
The beauty of saran wrap is that it will cling to itself when you roll it up. Now that they’re all rolled up it’s time to start braiding.
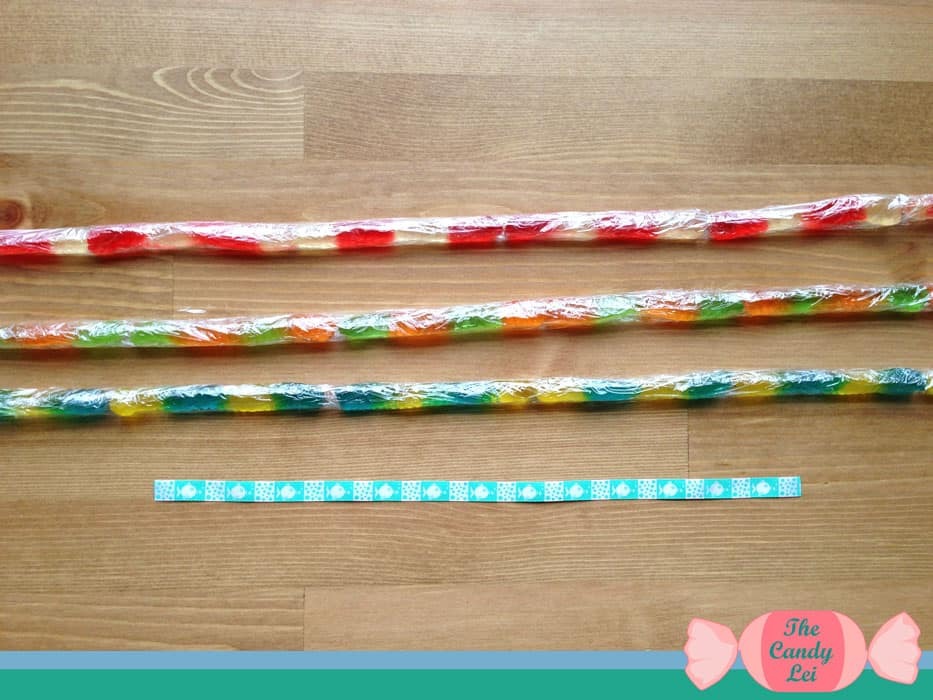
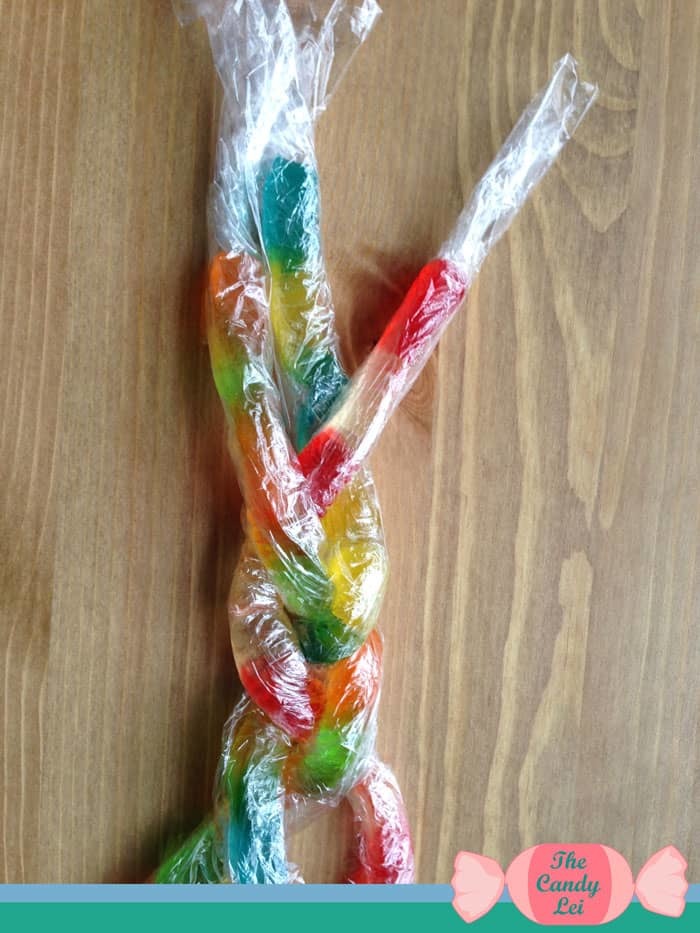
Step 5: Braid the Gummy Worms
If you’ve never braided before don’t worry, it really isn’t difficult. First, lay the three strands out next to each other. You’ll then alternate crossing the outside strand across the center strand. Check out this video on how to braid. When you’re done you should end up with something like the image below.

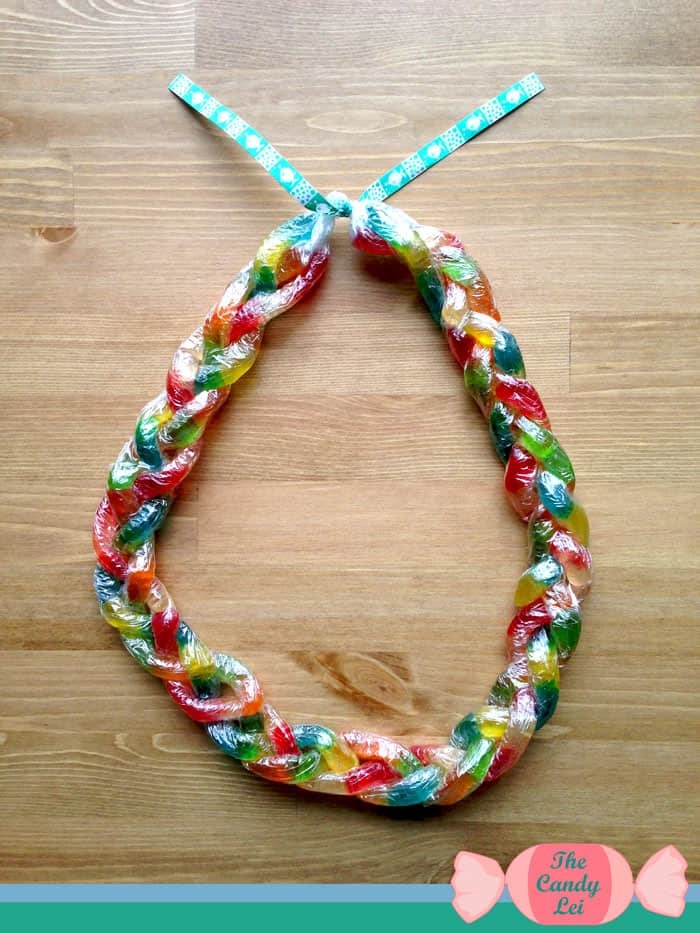
Step 6: Tie the Ribbon

The last step is to bring the two ends of your braided lei together to tie with the ribbon. First, twist the saran wrap from all three strands together on each end of the lei. Then lay each end on top of the other and tie them together with your ribbon. Make sure to double knot it and make it tight because this is what’s holding the entire lei together. Nice job! you should now have a completed gummy worm lei that looks something like the image below.
Nice job on your lei. Now that you’ve finished go and give it away to someone special. If you’re interested in getting other candy lei tutorials in your inbox sign up for my newsletter below!
Ready to make another lei? Check out some of our other popular tutorials below:
- How to Make a Graduation Lei
- How to Make a Starburst Lei
- How to Make a Twizzlers Lei
Leave a Reply